Saturday, June 22, 2013

Chili Con Carne ala Pinas - Chili on a Rainy Friday Night

I remember watching an episode of The Big Bang Theory where Priya, Raj's sister, cooked chilli (Chilli, Chili Con Carne) for the gang.


PRIYA KOOTHRAPPALI:
Would you like some homemade chili?
   

SHELDON COOPER
Are there beans in it?
   

PRIYA KOOTHRAPPALI
Yes?

SHELDON COOPER
Then it's not chili. Real chili has no beans in it, but you're from a foreign land, so your ignorance is forgiven.

[Sheldon tries some of Priya's chili]
   
SHELDON COOPER
Mmmm, this is good... whatever it is.
I think this was when I first took interest in cooking this dish, Chili Con Carne. From the implication in the show, the dish was originally Texan in origin. So I went on ahead and, well, you guessed it, looked it up.

Since the article is too long to quote, let me do a summary of how I understood it. Chili con Carne is a dish that had been used by American frontier settlers originally comprised of dried beef, suet and dried chili peppers pounded together to form bricks for them to easily boil it on the road. It then gained popularity around late 1800s where Mexican women sold them in downtown San Antonio around dusk by the bowl to passers by. So, Texas-born Sheldon Cooper is actually accurate with his details, as always, regarding Chili.

Inferring from his snide remark on how "Real chili has no beans in it" is also on target as the original version does not contain beans. The addition of beans dawned early in the 20th century when beans was associated as a staple to Tex-Mex cuisines. So Texan chili may, or may not contain beans and I believe the distinction is, that chili with beans is called "Chili Beans" and the all-meat version is the one dubbed "Chili"

Okay! Enough with the history lesson and on with the cooking!!! I adapted this Chili from Jamie Oliver's Good Old Chilli Con Carne Recipe (click here). Just a note... I used all fresh ingredients except for the spices and the beans which are dried. Nothing canned or frozen since my mom is all the rage with "whole food" thing.
 
Chili, just before the slow cook simmering part

 Ingredients:
1 medium sized bell pepper
2 red lady finger peppers
2 green lady finger peppers
2 medium sized onions
2 small heads garlic (not cloves, I mean the whole garlic head)
2 stalks celery
1 medium sized carrot
2 medium sized taro potato (to my beloved fellowmen... this is the gabing pangsigang >_<)
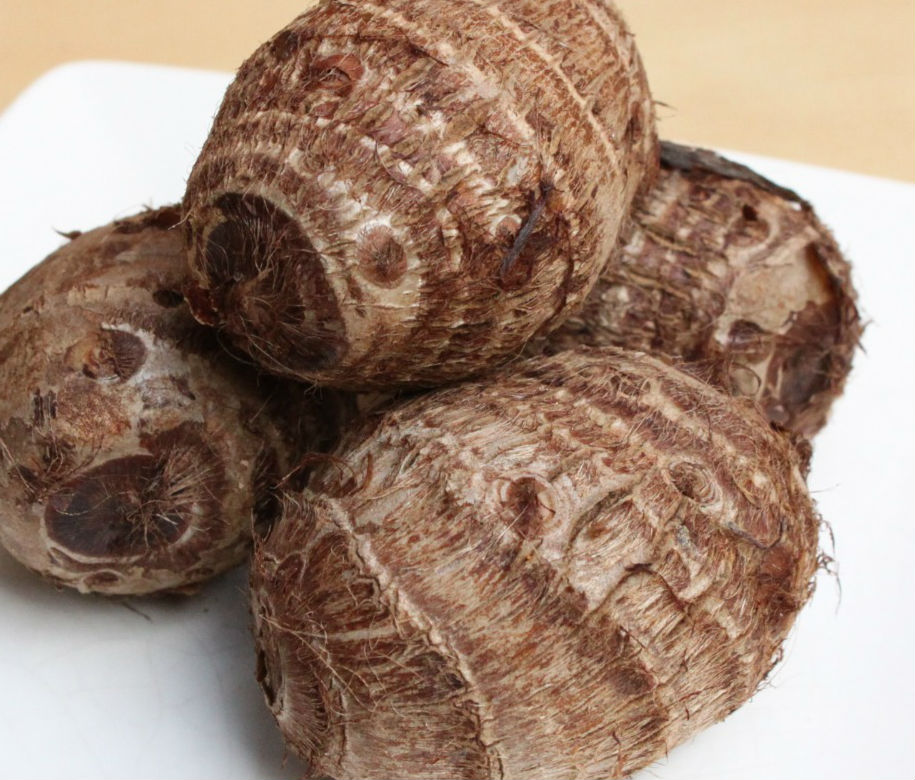
taro root

1-2 cups dried red kidney beans
1/2 cup garbanzos (chick/ugly peas)
6 pcs medium sized tomatoes
1 heaped tsp chili powder
1 level tsp cumin powder
1 level tsp cinnamon powder
500-600 gm ground beef
2-3 tbsp cooking oil (olive/vegetable/palm/coconut)
salt and pepper to taste

Special Prep
3 days before the day you plan to cook your chilli, soak your dried beans in room temperature water with 2 tbsp of vinegar (organic or apple cider will do nicely). Just make sure that you let the water cover your beans completely with a margin above since beans usually swell up to 3 times their dried size. Don't panic if you see scum or foam forming in the surface and that it smells weird, it's fine, just leave it there for 48-72 hours. The scum formation are actually anti-nutrients like phytic acid that inhibits mineral absorption which can be detrimental to our health. Plus, soaking the beans eliminates the gassy aftermath of a bean based dish. Just make sure to rinse thoroughly before using.

Method
1. Chop the carrots, chilies, celery, onions and garlic. Chop them to bits.


2. Put all the veggies in a large casserole, add the oil then saute in medium heat till caramelized. Or until soft with little brown edges.

3. Meanwhile... drain the beans, the garbanzos (chick peas). Chop the taro and the tomatoes into half inch cubes. I forgot to take a picture of the taro and tomato huhuhu.

4. Back to the pot... Add the chili, cumin and cinnamon. 
5. Add the ground beef. Saute.
6. Add the tomatoes, beans and peas. Add 1 cup of water. Stir. At this point, you will have to add salt or if you prefer, you can use fish sauce. This will be according to taste. By the way, try to make it a little bland since the stew will have to be reduced so water will be evaporating. There is a risk of a too salty chili if you salt it too much. Remember, you can always correct the taste right before serving.

7. Simmer till the beans are soft enough for your. This will also depend on your taste. Leave it a little longer if you want the beans to be really soft. This can be anywhere from 1 hour to 3 hours.

8. Serve with freshly cooked rice. 

Note: This goes well with yogurt or cream cheese. So while it's piping hot, you can put a dollop of yogurt or cream cheese and blend it in. It adds to the creaminess of the whole dish.


And left overs can be devoured the next day. That is, if you have any :)

Serves: 6-8 people if eaten with rice 

Happy weekend Y'all!

Sunday, June 16, 2013

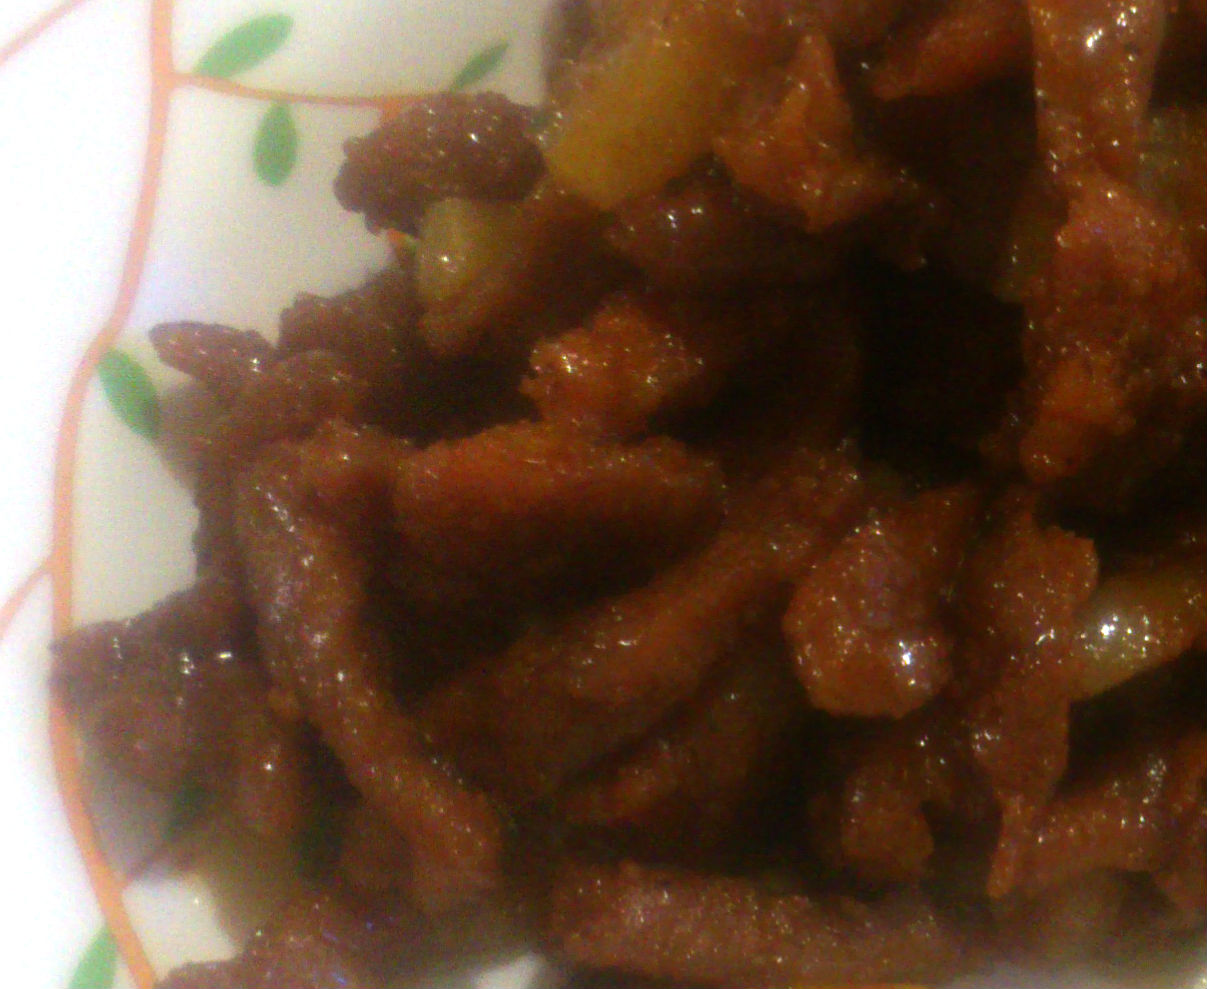
Homemade Tocino: Sweet Mornings, Candied Pork

Tocino... any Filipino can tell you that this is one of the traditional and all-time favorite "ulam" or viand especially for breakfast. Looking up the actual definition of tocino, the web tells me that it is simply "bacon" in Spanish as it is usually the belly or the bacon part that is cured with salt and sugar with a little salt peter for color.


I haven't been able to create entries to my blog recently due to my Dad taking the laptop with him to Manila. Unfortunately for me, my own laptop is dead as dust so I have to settle with borrowing my Mom's. Without a laptop to work on, I usually spend my hours in the net just watching videos and looking stuff up. And after stopping by the grocery on my way home, I bought a hunk of pork shoulder with no idea what to do with it. I was just attracted to the beautiful pink color pork gives you when it's really fresh.

And thus commenced my latest preoccupation: meat processing!

I remember my Dad attempting to make this same dish when I was I think 6 or 7. He was boiling meat in I don't know what, but it smelled really weird, like dried fish crossed with vinegar or something. I made a comment to my aunt later on, which had her laughing out loud causing my newborn cousin to cry. With that memory in mind, I still liked eating Tocino, but simply veered away from attempting to make it from scratch. But with the around 600g of pork shoulder on hand with nothing to do, I tried to think of what to do with it. It was too little to brine to make ham, too little to make pot roast either. Then it hit me... TOCINO!!!

Okay, before I lose my trail of thought again, the recipe:

Ingredients

500 g pork, sliced 1/8 inch thick (if you don't know how to slice fillets like me, just ask your butcher to slice it "tapa" style)
1/2 cup sugar (I recommend muscovado since it adds a special flavor)
1 tbsp salt (2 tsp if you're using iodized)
10 ml Soju (or any clear liquor you can get your hands on)
1 tsp achuete powder or beet powder (for a tint of color)

Instructions

Curing
1. Mix sugar, salt, soju and (achuete/beet) powder in a bowl.
2. Coat the slices evenly.
3. Store in a zip-loc or plastic container (please do veer away from reactive metals like iron or aluminum as it might react with salt and the alcohol and might pose a risk to your health)
4. Cure inside the fridge for 24-48 hours. The longer you leave it, the more candied the flavor, especially the fat. I recommend putting it in the fridge to avoid culturing bacteria. Traditionally cured in room temp, but since we are not using salt-peter, there is the risk of developing bacteria in the meat. Curing it in the fridge takes care of this thus avoiding the need to use salt peter.

Cooking
1. After curing, you can either cook the meat or repack it for freezing and storage.
2. Tocino is traditionally cooked 2 ways, you can fry it in oil, or boiling.
3. Frying, pretty straight forward. Heat oil, put tocino in, fry till golden brown.
4. Boiling, put the tocino in a pan, put just enough water to cover the meat halfway.
5. Boil till the water evaporates and toast a little.
6. Serve with hot rice.


 Post Script:

Happy Father's Day to my Dad and to all Daddies out there. Thanks Papa, for from your blood, I inherited the skill and love of cooking.

Me and my dad. Awwwww :')

Saturday, June 1, 2013

Kimchi Girl's Adapted Kimchi Recipe

And at last! The Kimchi (or kimchee, kim chee, gimchi how ever you would like to spell it! :3) Recipe! Now wouldn't it have made more sense for me to have posted this first rather than, what, the fourth or fifth recipe in this blog? Hahaha! I know, I know. But I have come through and finally, the kimchi or kimchee recipe that everyone (I hope or I wish? lol) has been waiting for.


And being the OC (obsessive compulsive) nut that I am, I have to discuss what kimchi is first. And according to out handy dandy wikepedia:

Kimchi (Korean: 김치 Korean pronunciation: [kimtɕʰi]; English pronunciation: /ˈkɪmtʃi/), also spelled kimchee, kim chee or gimchi, is a traditional fermented Korean side dish made of vegetables with a variety of seasonings.[1][2][3] In traditional preparation Kimchi was often allowed to ferment underground in jars for months at a time.[4] It is Korea's national dish, and there are hundreds of varieties made with a main vegetable ingredient such as napa cabbage, radish, scallion, or cucumber.[5] Kimchi is also a main ingredient for many Korean dishes such as kimchi stew (김치찌개; kimchi jjigae), kimchi pancake (김치부침게; kimchijeon), kimchi soup (김칫국; kimchiguk), and kimchi fried rice (김치볶음밥; kimchi bokkeumbap).
In short, it's a spicy and sour vegetable preserve... kind of... well that's one way to put it or to describe it to someone unfamiliar with such dishes. (You wouldn't believe how many types of description I have to come up with when trying to sell this to my office mates >_< )

Being that I am from the Philippines, and located in one of the smaller cities in the country, trying to follow the strict traditional recipe is, I would say, tricky. Mainly because some ingredients are hard to come by and sometimes I'm just too lazy to go to the next town just for grocery shopping. The first time I tried this, I really had to cheat or improvise on some of the ingredients. In case you're interested, here is one traditional kimchi recipe I stumbled into the time I was still experimenting >> Authentic & traditional Kimchi recipe!

Before we get started... Just one last segue:

Gochugaru Flakes/Powder

Gochugaru (고추가루, also transliterated as go choo ga roo) is red chili pepper, dried and ground into a coarse powder. In preparing Korean dishes, just about any ground chili pepper may be used as a substitution, but be aware that several varieties of chili powder (such as cayenne pepper) can be quite a bit hotter or milder than gochugaru, and so it is advisable to add in small amounts until the desired level of spiciness is reached.

I just wanted to acquaint those who are not familiar with it. And I say it's the most important ingredient since this is what makes it, well, kimchi. I haven't personally tried using cayenne or paprika or any other type of chili powder so if you definitely can not find a Korean deli or grocery, then as what was mentioned, add in small amounts to control the taste. You can always add more but it's near impossible to fix excess.

Alright! I hope the beautiful red color of the gochugaru flakes above whetted your appetites!

Kimchi Girl's Adapted Kimchi Recipe

Ingredients:

3 kg Napa Cabbage
200 g radish
200 g carrots
3-5 stalks green onion
200 g onions
200 g garlic
75 g ginger
1 cup salt
1/2 cup Glutinous Rice Flour (or mochiko flour. sweet rice flour, sticky rice flour)
1/4 cup sugar
1 cup fish sauce
1 cup gochugaru flakes
3 cups water

Method:
1. Cut the napa cabbage into 1-2 inch slices:

kimchi girl
2. Wash the sliced napa twice and drain. Prepare a big enough container for the salting of the leaves.

3. Sprinkle the salt over the leaves and mix.

4. Let it sit for 30 minutes, mix and turn over leaves. Repeat 3 times (this should take a total of 2 hours)

5. In two hours, rinse the cabbage leaves once and drain.

6. While waiting for the leaves to salt. let's prepare the paste. Mix the 1/2 cup glutinous rice flour (aka galapong or giniling na malagkit), the 1/4 cup sugar and 3 cups of water in a sauce pan. Heat and stir until the mixture comes to a boil. Cook for about 3-5 minutes. The resulting paste should look like porridge. Set aside to cool.
 -->

7. Next the spices. Skin the garlic. Now you can do this manually by hand, or you can check out this video in youtube to save a little time (click here). Skin the onions and cut into cubes. Skin the ginger and cut into cubes.


8. Put the onions, garlic and ginger in a blender or food processor. Add 1 cup of fish sauce (a.k.a patis for most Filipinos). Blend for 1 minute or until pureed. Set aside.

9. Chop the carrot, radish and green onions into strips. I use this slicer I bought from a hyakuen here in the Philippines. (A hyakuen is a 100 Yen shop in Japan, in the Philippines you know this as the everything 88 or 99 stores that sells Japanese products ranging from hair care to kitchen wares to toys and basically anything under the sun. They even have snacks.) Set aside.


10.  Add 1 cup (or you can add more chili flakes depending on how hot or spicy you want your kimchi to be. 1 cup has a nice bite to it, but feel free to go hotter :3) to the pureed onion, garlic and ginger. Mix well.

11. If the paste is cool enough, add the chili and spices puree. Mix well.

12. Mix in the chopped veggies.

 Now we prepare the actual kimchi. The steps above were simply preparation steps :3

Important notes* Try to wear gloves when mixing the kimchi. The oils from the chili and spices can cause serious irritation when they come to contact with skin. In case you do get some on your skin, simply rinse and pour a little milk on it.

1. Grab a handful of cabbage leaves and put it into the container.

2. Add a scoop of paste

3. Mix thoroughly.

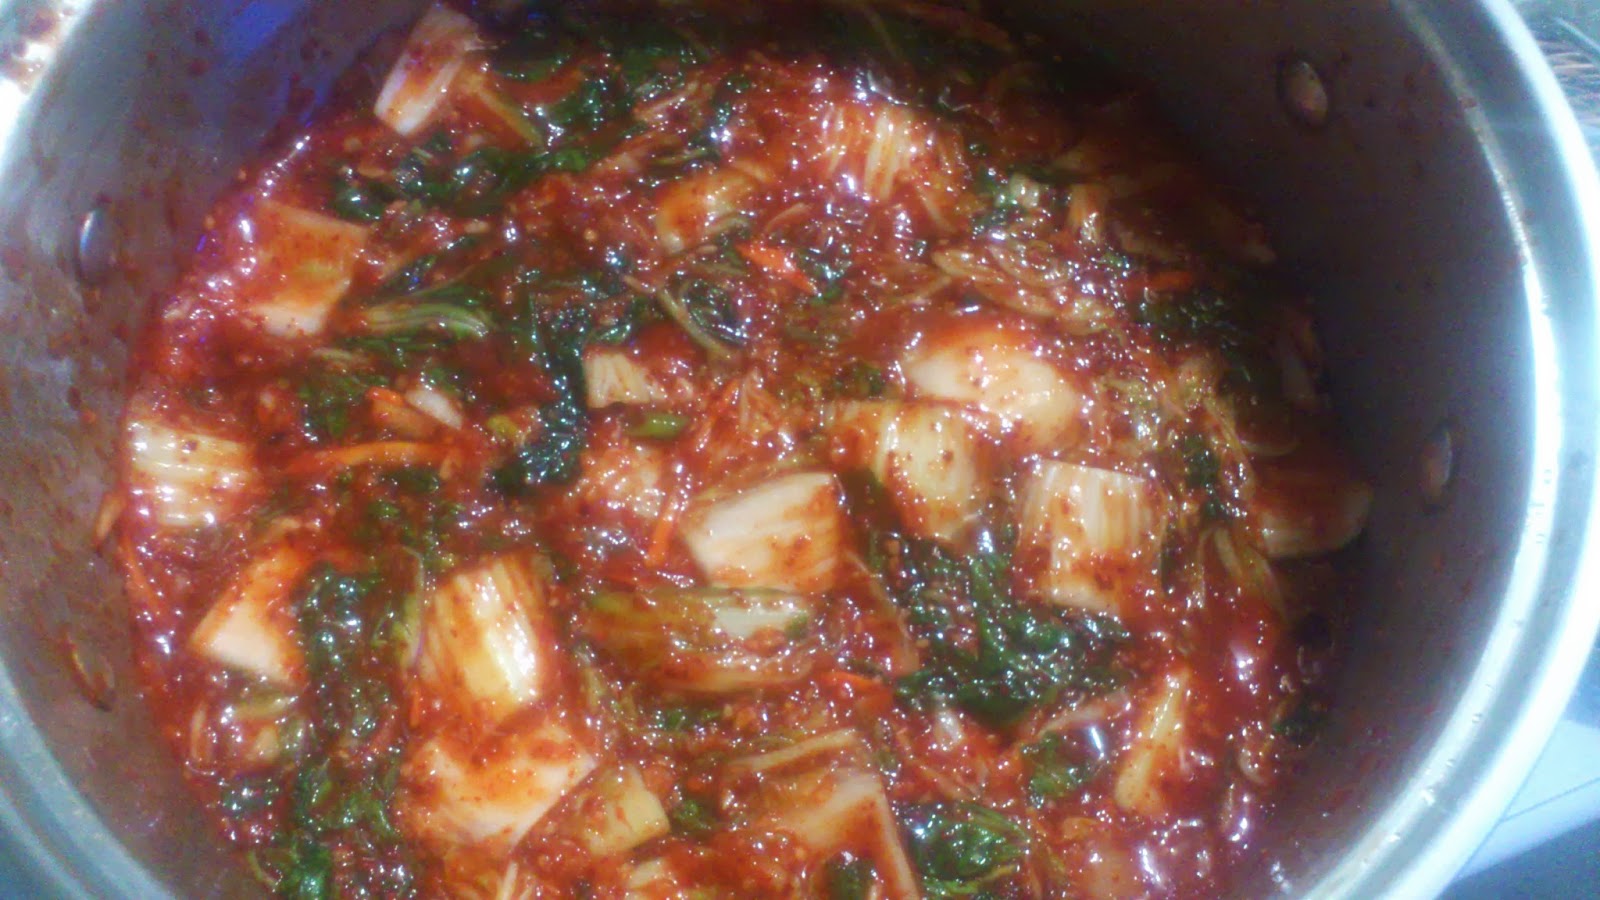
4. Continue the process until all the cabbage has been coated with the paste. Push down on the kimchi to squeeze out air bubbles. Ferment the kimchi for 24-36 hours. Or, alternatively, you can eat it fresh. Though I myself prefer to have it fermented first. :3


And there you have it folks! The Kimchi recipe I use for the kimchi I sell to people at the office.

I hope you enjoyed this and please leave a comment if you have questions, requests, and what have you.

Happy Eating!

Wednesday, May 22, 2013

Leche Flan or Caramel Custard - Quick and Easy Recipe

 Leche Flan!!! Who does not love this sweet caramel custard we have all come to love through childhood.


Hello Everyone!


I know that I promised the kimchi recipe next but I haven't really had the time to make a batch for me to take pictures from. So as a compromise, let me present you with this quick and easy recipe I have adapted for the ever sweet and delicious Leche flan! For those unfamiliar with the term, this is caramel custard, a cousin of creme brulee.

Well anyway, it had been raining a lot recently and I have been scouring youtube again for old anime videos just to unwind my tightly wound head. While delving deeply into Japanimation, I happen to come across a cooking channel that I've visited once before for her okonomiyaki recipe. I was poking around her channel when I found her custard recipe which happily enough is a close relative of the Leche Flan we Filipinos simply adore. (You can find her video here) This reminded me about this eggy, creamy dessert that my brother had been egging me to make for quite a while now.

And again, with the definitions (you will really have to get used to me explaining almost everything ^_^)

According to Wikipedia:
 Crème caramel (French: [kʁɛm kaʁaˈmɛl]), flan [flɑ̃], or caramel custard is a custard dessert with a layer of soft caramel on top, as opposed to crème brûlée, which is custard with a hard caramel top. The dish is eaten throughout the world.
In the Philippines, flan is known as leche flan (the local term for the originally Spanish flan de leche, literally "milk flan"), which is a heavier version of the Spanish flan made with condensed milk and more egg yolks. Leche flan is usually steamed over an open flame or stove top, although rarely it can also be seen baked. Leche flan is a staple in celebratory feasts.

A heavier version of leche flan, tocino del cielo, is similar, but has significantly more egg yolks and sugar.
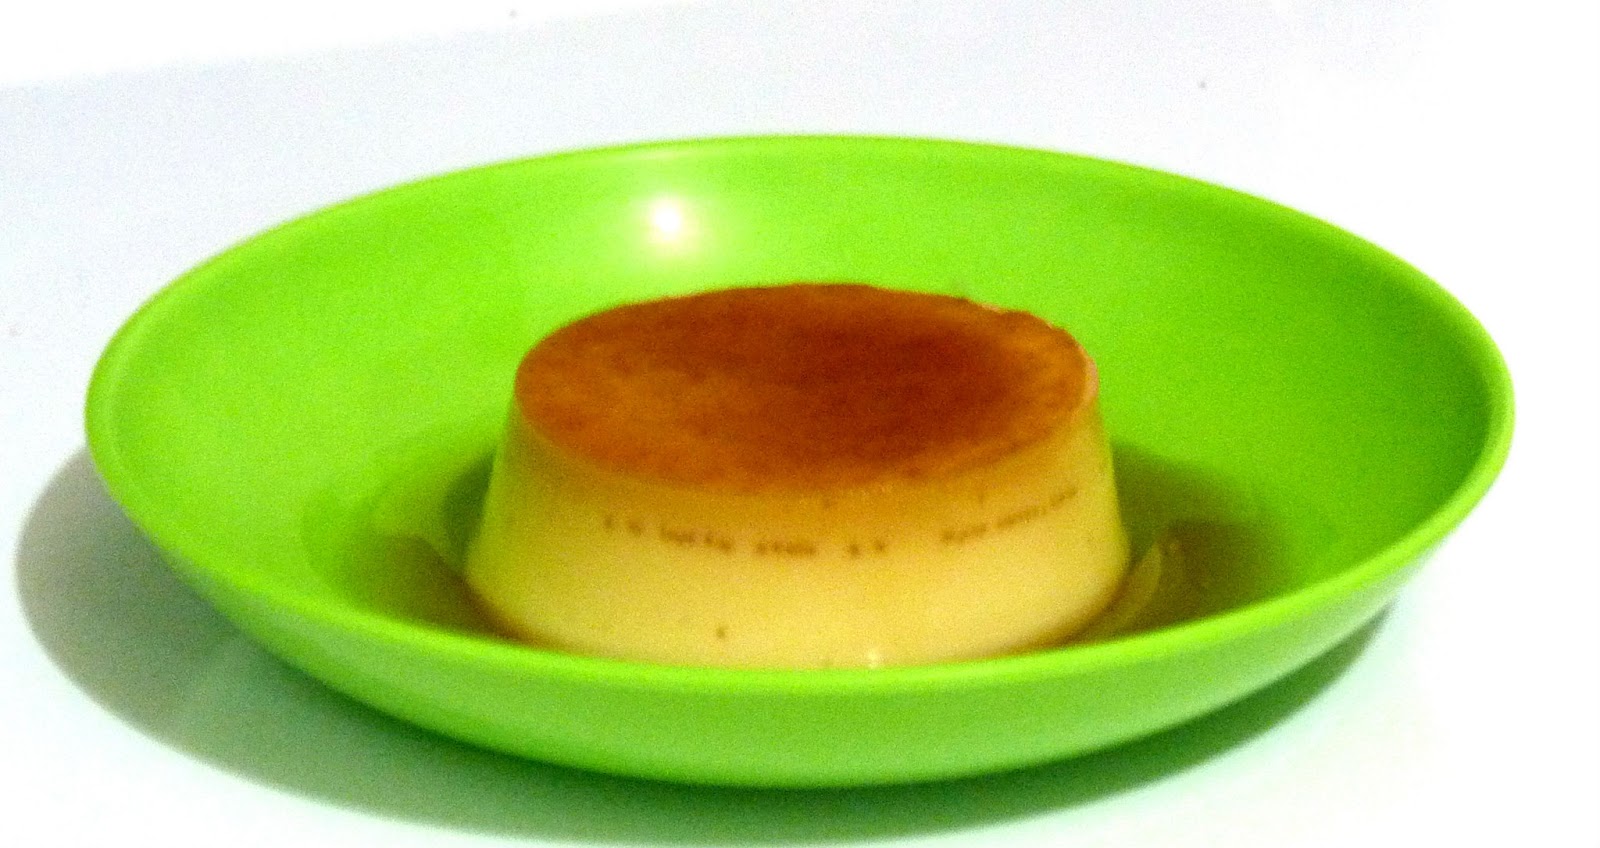
To provide a visual:
A freshly chilled Leche Flan


 That was the actual finished product.

Now this recipe can be done with just 5 ingredients easily found in your pantry. There are a couple of optional ingredients. Adding or not adding the optional ingredients makes very little difference to the finished product. The two optional things are just for aroma more of. :)

So without further ado:

Quick and Easy Leche Flan

Ingredients:

4 tbsp Sugar
2 tbsp water
1/4 cup condensed milk
1 cup fresh/evaporated milk
2 eggs
1 dash vanilla extract*
1 tsp lemon or calamansi juice*

*optional

Method:

Caramel Sauce

 1. Put the 4 tbsp of sugar and 2 tbsp of water in a saucepan. I used muscovado sugar but any type of sugar will do.

2. Heat the sugar solution over medium heat. Bring to a boil.
3. When the sugar reaches the stretchy taffy-like consistency (you can test this by dipping the spoon you are using in cold water)turn it off, add 1 tbsp of water and pour onto containers.
4. Let it sit and make the custard.


Custard/Flan


1. Crack the eggs in a bowl.
2. Beat them lightly. If you have a wire whisk, try to whisk without lifting the tip of the whisk from the bottom of the bowl, since I am still lacking kitchen tools, I made use of a fork. Just try not to make so much foam on top like I did... *sigh*

3. Set the eggs aside, (hopefully the foam eases down a little) and prepare the milk solution. Mix 1 cup of milk, you can use either fresh milk, full cream milk, evaporated milk, sterilized milk. Here I used fresh milk, but I have a feeling that evaporated or full cream would have made it even creamier. And 1/4 cup of condensed milk, or 4 tbsp of sugar)


(1 cup of milk, fresh or evaporated, 1/4 cup of condensed milk, or 4 tbsp of sugar)

4. Pour the milk solution into a saucepan and bring to a "near boil" the emphasis on near boil means... DO NOT BRING TO A BOIL. Just heat the milk enough to mix the solution completely. This is especially important if you are using sugar instead. Just remember, near boil only.


5. Once the milk and sugar/milk and condensed milk are fully mixed, remove from heat, swirl a little to cool it off and pour in with the eggs.

6. Mix the milk and eggs solution thoroughly. As much as possible, try to mix it well so that you don't lose much of the solution once you strain it through a wire sieve.

7. Strain the solution into an easy to pour container.


8. Pour into the cups/molds you lined with the caramel sauce from earlier.


9. Put a kitchen towel on a pan/steamer and position the molds on the surface. Cover the molds with aluminum foil to help with the cooking process. In my case though, I used the lids of the cups. The kitchen towel is to dissipate the heat from the pan. Too much heat can cause the custard to bubble and thus ruining the silky texture of the dessert. And in my case, it would melt the cups ^_^

10. Cover the pan. Steam for 10-12 minutes with near boil water. Again, NEAR BOIL. Try to set the stove to the very minimum you can get. One technique I learned from my aunt was to crank the switch on the stove towards the off position, tapping it to get it to go lower.

11. After 20 minutes, the custard should be ready. Remove from heat, cool down a little then refrigerate.

12. Serve Chilled. Enjoy!!!

And there you have it, folks! Quick and easy Leche flan in under an hour.


Sunday, May 5, 2013

The Kimchi Girl

Hi! My name is Shine. I am otherwise known as the Kimchi Girl in the office I work in. I sell kimchi to  officemates and some acquaintances for extra cash.

A little more about me.

I am a girl born and raised in a peaceful little village located on the outer borders of Metro Manila. My family was lucky enough to get a property in such a quiet and kind of secluded village where I could enjoy the conveniences of being in the city and the quiet and solace of the rural areas.

As far back as I can remember, I have had this love f or cooking. I started cooking when I was I think 9 or 10 years old. The first dish I ever learned cooking is steamed rice and fried egg. I then evolved to pasta, casseroles, dumplings and the occasional baked goods.

Now, where on earth does kimchi fall in to place?

I think at this point, you probably have deduced that I am not Korean. Nope, I'm far from that. I am proudly a tanned, petite and full-blooded Filipina.  Lookie my picture


So, yes, I am Filipina.

Kimchi is a traditional Korean dish made of veggies and spices. It's traditionally aged in vats or jars and buried underground during winter. Not that you can't make Kimchi during any other season. To simplify, Kimchi is basically a type of pickle eaten as a side dish to every meal of the day. They eat it in a variety of ways: ala carte, in stews, fried rice, pizza and who knows what else.

 Just a quick background on pickles:

    "Pickling", also known as "brining"or "corning", is the process of preserving food by anaerobic fermentation in brine to produce lactic acid, or marinatingand storing it in an acid solution, usually vinegar (acetic acid). The resulting food is called a pickle. This procedure gives the food a salty or sour taste.In South Asia, edible oils are used as the pickling medium with vinegar.[1]


Now eating pickles as a side dish is not limited to Koreans. The Japanese have their tsukemono, Filipinos have achara, the Chinese have a lot of pickle types to even mention, even the western world has its own brand of pickles.

But this story is about Kimchi.

So there I was, getting over a few rough roads in my life and took to watching Korean soap operas. The one I was watching in particular was Coffee Prince about a poor girl who resorted to dressing like a man  to get a job in a coffee shop. It's a romantic comedy and really helps soothe a few tangled nerves. Now off the central story line, a lot of Korean dishes were featured all throughout the series. One of which was the Kimchi fried rice. Prior to this, I had already been acquainted to Kimchi several years back by my dad. But I never really thought of putting it in fried rice.

I suddenly had this really bad hankering for Kimchi fried rice, but Kimchi is so expensive off the rack. With nothing else to do, and a need to take my mind of things, I went into research on how Kimchi is made. I came across this nice Korean lady online who demos Korean dishes. You can find her site here.

Substituting a few ingredients to things readily available in the market, I ventured into making my very first batch of kimchi which I shared with an officemate. He then told me that he used to order kimchi from a different town regularly. So I said that whenever I make a batch, I'll sell him some. And the rest is history.

That's the history behind how I became the local Kimchi Girl.

I'll be posting my recipes and other gastronomical (<<is this even the right term???) adventures. Let this blog be the testament to my rekindled romance with cooking and the kitchen.

Fresh Kimchi for fermentation (after about 4 hours of working on it >_<)
My next post will be my version of the Kimchi recipe. Let me just complete the step by step photos. ^__^